Welcome to my first ever hair tutorial!
I hope you all have a go at getting massive vintage bangs in your hair to go with your amazing Crown and Glory accessories!

So, to start with, I wash and towel dry my hair. Then put quite a lot of moose through it. My hair isn't thick, but there's a lot of it, so it needs to know who's boss!

I then blow dry it until it's pretty much dry, but still very slightly damp.

So then this is what I have...a mess in need of a cut and colour! My bedroom could do with lil' tidy too methinks! What changes!
I then take quite a large square section at the front of my hair, you can use your fingers to do this, a tail comb is great for getting nice straight lines too.

How embarrassing, you can really see my roots on this one! But as you can see, there's quite a lot of hair there. More than you might think you need. This way it helps support itself.
I then put two or three large velcro rollers in my hair...

I'm not too fussy about the neatness at this stage, although I try to keep the section as much as I can. This is just to 'train' my hair in to going in the direction I want it to. I try and leave these rollers in for as long as I can. All afternoon if I'm going out in the evening if I can. It just makes it so much easier, and can really cut down the time you spend actually forming your roll. Try to leave them until your hair is completely dry.
Now is a great time for a cup of tea!

Or two..!

Anyway! This is also a good time to attend to the rest of your hair. Today I simply finished blow drying it, and straightened it. When I've left my rollers as long as I can, I take them out, and am left with something along these lines...

Attractive! Be careful here to keep your quiff section separate from the rest of your hair, it might want to wander! A couple of clips can help. A bit of backcombing at the roots is good at this stage, just to give the hair some stiffness.
To get a really tight roll, I then tong the section as a whole...
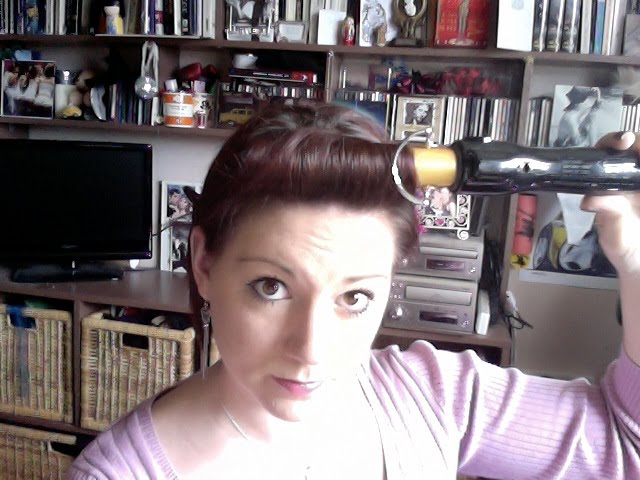
pulling the section as far forward as you can can help here, so that the roll sits forward on your head. Leave as long as you dare, or until you burn your head!
When you come to remove the tong, don't unravel it. Keep it in the same position, unroll it very slightly, and slide the tong out very carefully, keeping the hair in the same position as much as you can. You should end up with something like this...

Then, if you want a simple roll, it's just a case of grabbing it and pinning it where you want it to be. I try not to comb or brush it at this stage, as that fluffs it up too much. This bit can take some practice, but you can always tong it again if it moves. Pin it well, although two or three is usually enough for me. Spray with some hairspray. Lots of hairspray if your off out on the tiles!

Ta Da! One fabulous roll. For a slightly different shape for the pictures That I took for Sophie I didn't pin the roll, I let the curl fall slightly, then just clipped it up my gorgeous butterfly clip. This gave me a really nice big loose roll.

This is a nice shot of my "Mrs. Morten Harket" thong that I have hanging on my shelves, lovely!
You could curl the rest of your hair...

Or if you really want to 'Rockabilly' it up some more, this style looks fab with a a scarf tied around behind it. Just pin it in place.

I hope you've found my tutorial helpful and interesting. Please let me know if you have any questions!
Happy quiffing!
Sparkling Diamonds,
Tiff x

